I love cheese. It has been the.hardest.thing. to give up since becoming vegan. Cheese is usually the difference between a vegan and a vegetarian. It’s not merely a taste preference, either. We can become chemically addicted to dairy, like a drug. (Check out my blog here for links to the science behind it.) It has been a real adventure trying to find a vegan alternative to keep away the dairy shakes (not really — but the cravings are real!).
I have found, through some trial and error, a beloved recipe for Sharp Vegan Cheddar Cheese! The basic recipe comes from Vegan Blueberry and her recipe for Smoked Gouda Cheese. I took the basic recipe, and adapted the flavour to give a tangier, less smokey flavour.
I love Vegan Blueberry’s recipe because it is so easy and effective. You simply take all your ingredients, blend, pour, and cure! It is as tasty as it is easy, too, which leaves little reason not to dive in.
Sharp Vegan Cheddar Cheese Recipe
This recipe will make about 3 cups of solid/semi-solid cheese. That’s enough for a decently sized appetizer (depending on what kind of cheese fiends you have joining you for dinner).
**Edit, instructions have been adjusted slightly after research and discovering the right tip for solidifying the cheese from Loving It Vegan.**
Prep time: at least a few hours of solidifying, to a couple days.
Cook time: A few minutes to boil water and mix with agar powder. Otherwise it is raw.
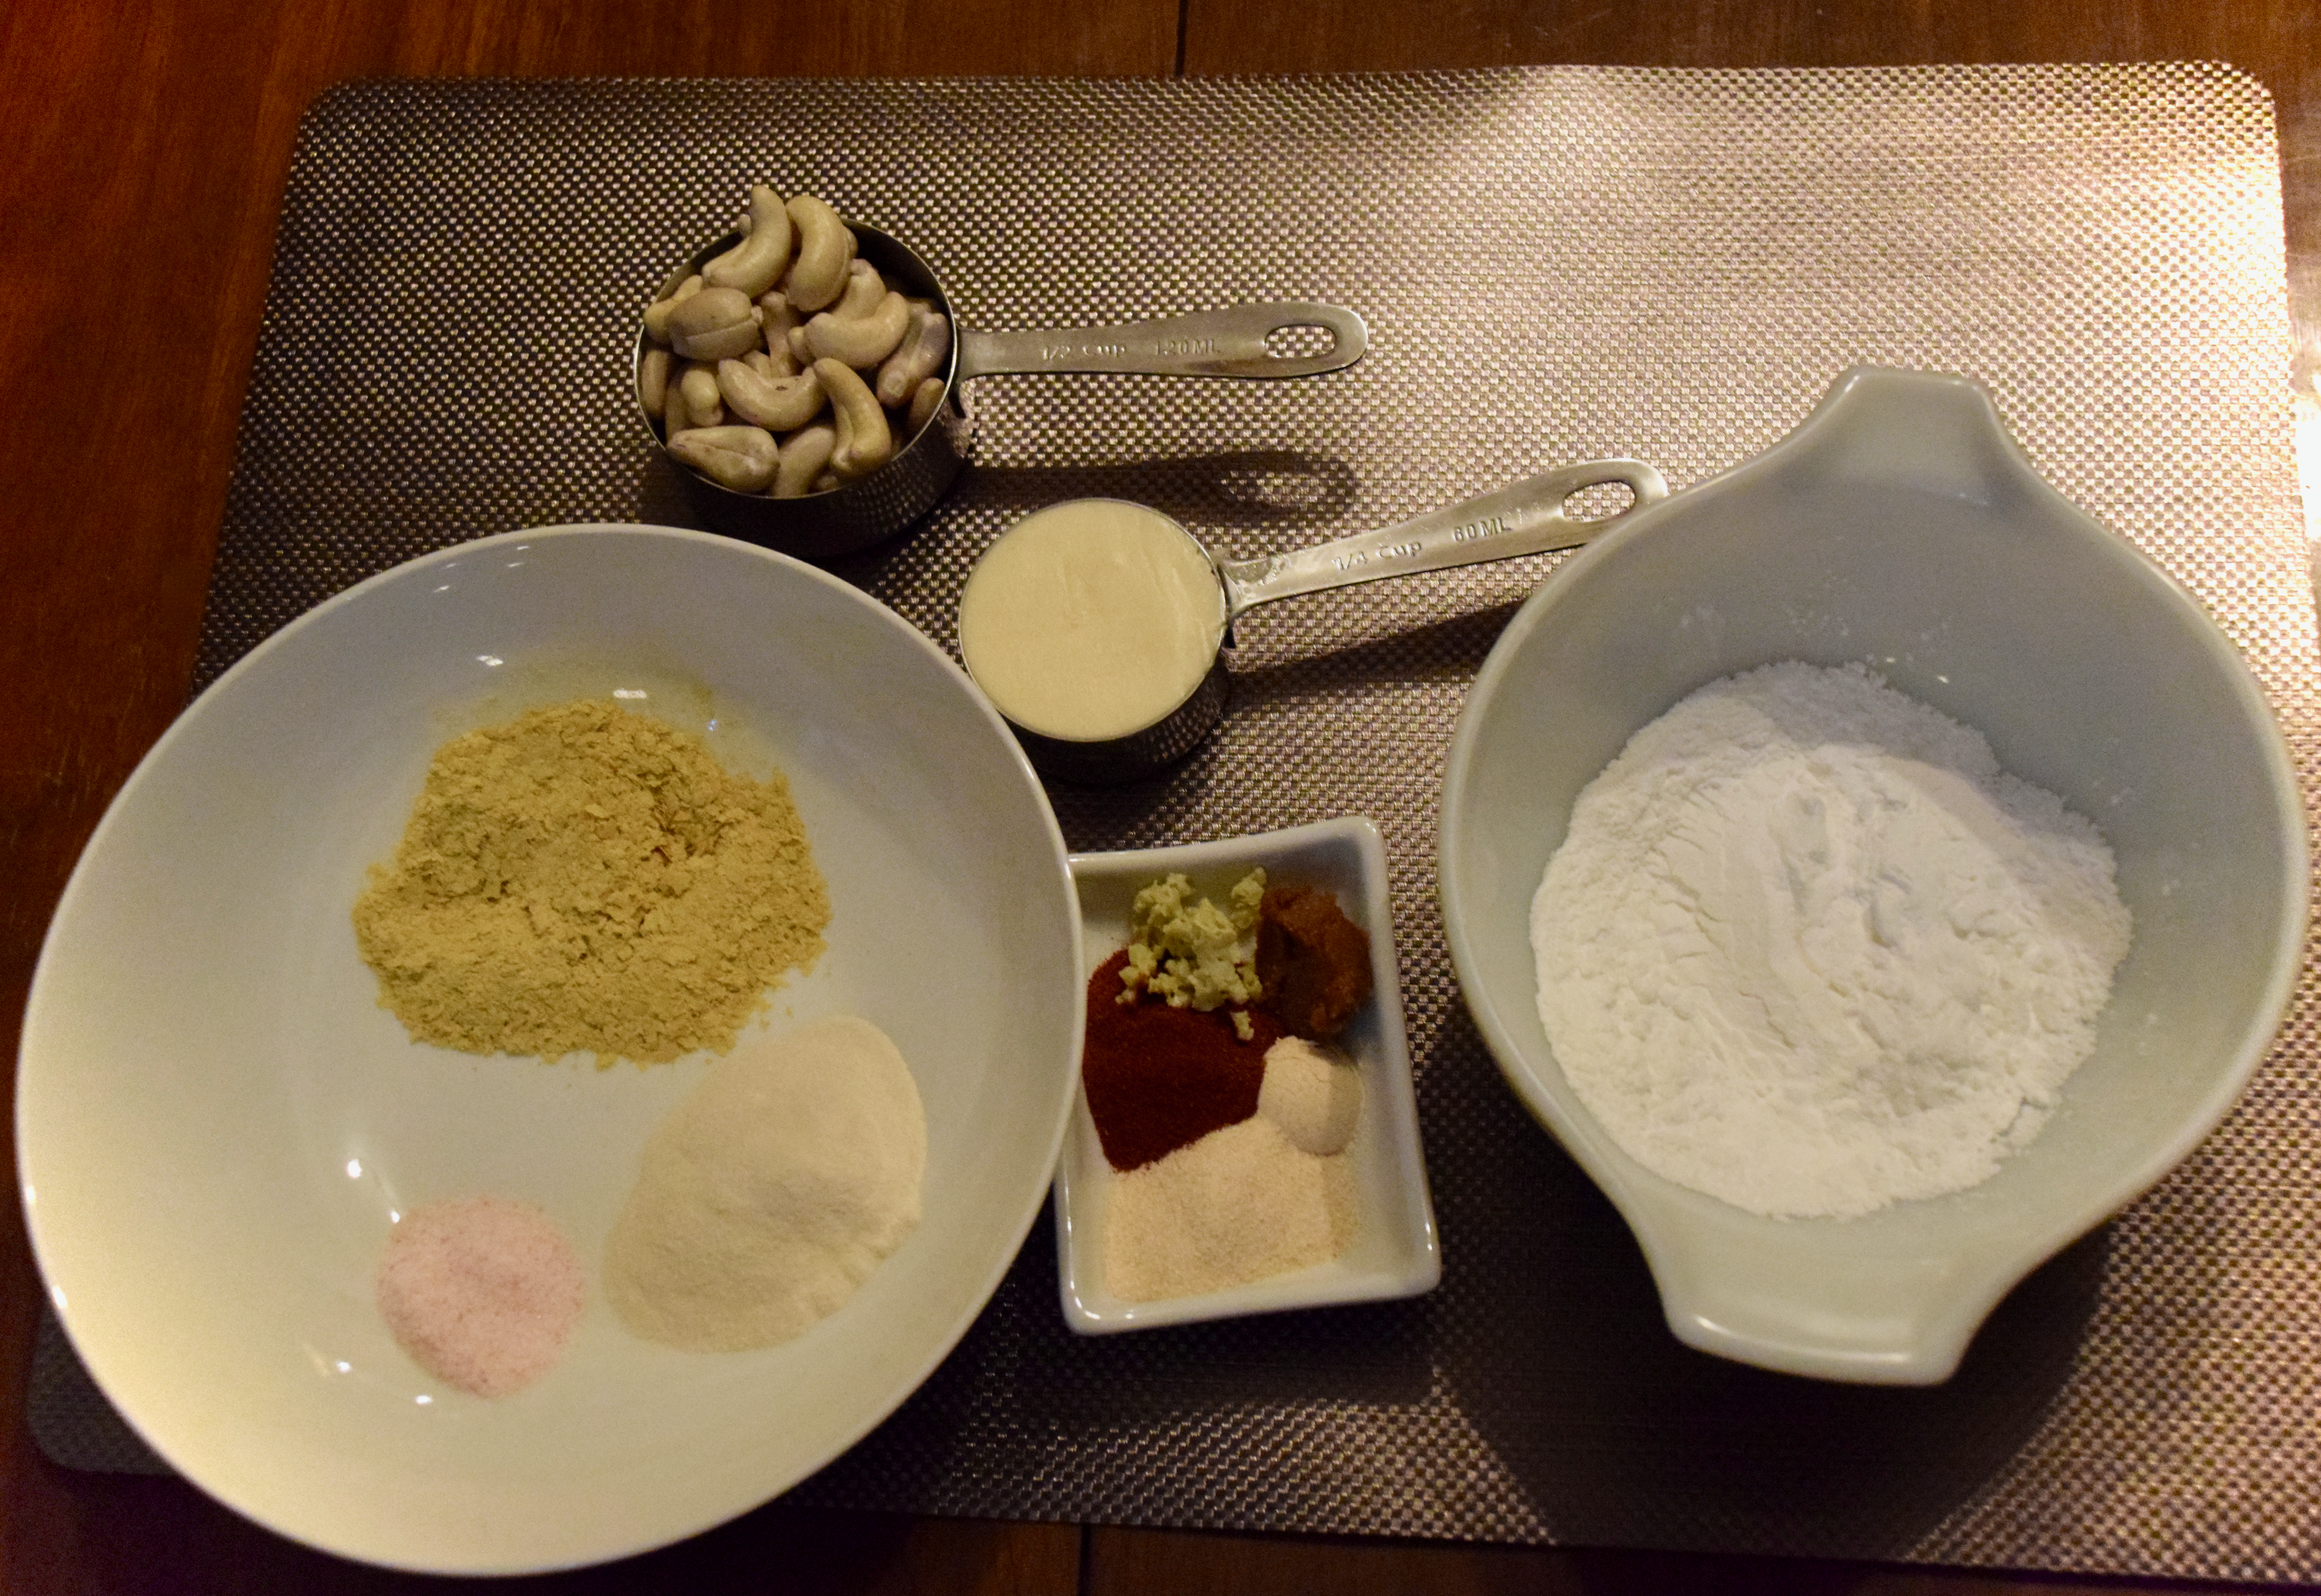
Ingredients
- 1/2 cup cashews
- 1/4 cup vegan butter/ refined coconut oil (I like organic Earth Balance vegan butter)
- 1/4 cup tapioca starch
- 1/3 cup nutritional yeast flakes
- 2 1/2 tbs agar powder
- 1 tbs lemon juice
- 1 tbs apple cider vinegar
- 1/2 tsp citric acid powder
- 1 tbs finely chopped artichoke hearts
- 1 1/2 tsp salt (black salt is best)
- 1 1/2 tsp onion powder
- 1 1/2 tsp garlic powder
- 1 1/2 cup boiled water
Directions
Firstly, either soak your cashews in water over night, or for a few minutes in boiling water just before making.
Finely chop your artichoke hearts. Through trial and error, I have discovered this ingredient to make a very notable difference in the flavour composition of the cheese. You can omit the ingredient if you like, but the results won’t be as savoury.
Start your 1 1/2 cups water to boil in a small/medium saucepan — and select a cheese mold (pyrex or glass dish with 3 cups volume is perfect).
Add all of your ingredients, except the water and agar, to a high-powered blender or food processor, cashews first, and BLEND! Scrape down the sides and blend until evenly chopped. Make it smoooooth!
Once your water has started to boil, and the ingredients blended, add the agar agar powder to the water and mix until dissolved. Quickly, add in the blender ingredients and mix until fully incorporated and smooth. The agar will start to set as it cools, so mix very quickly and evenly. *
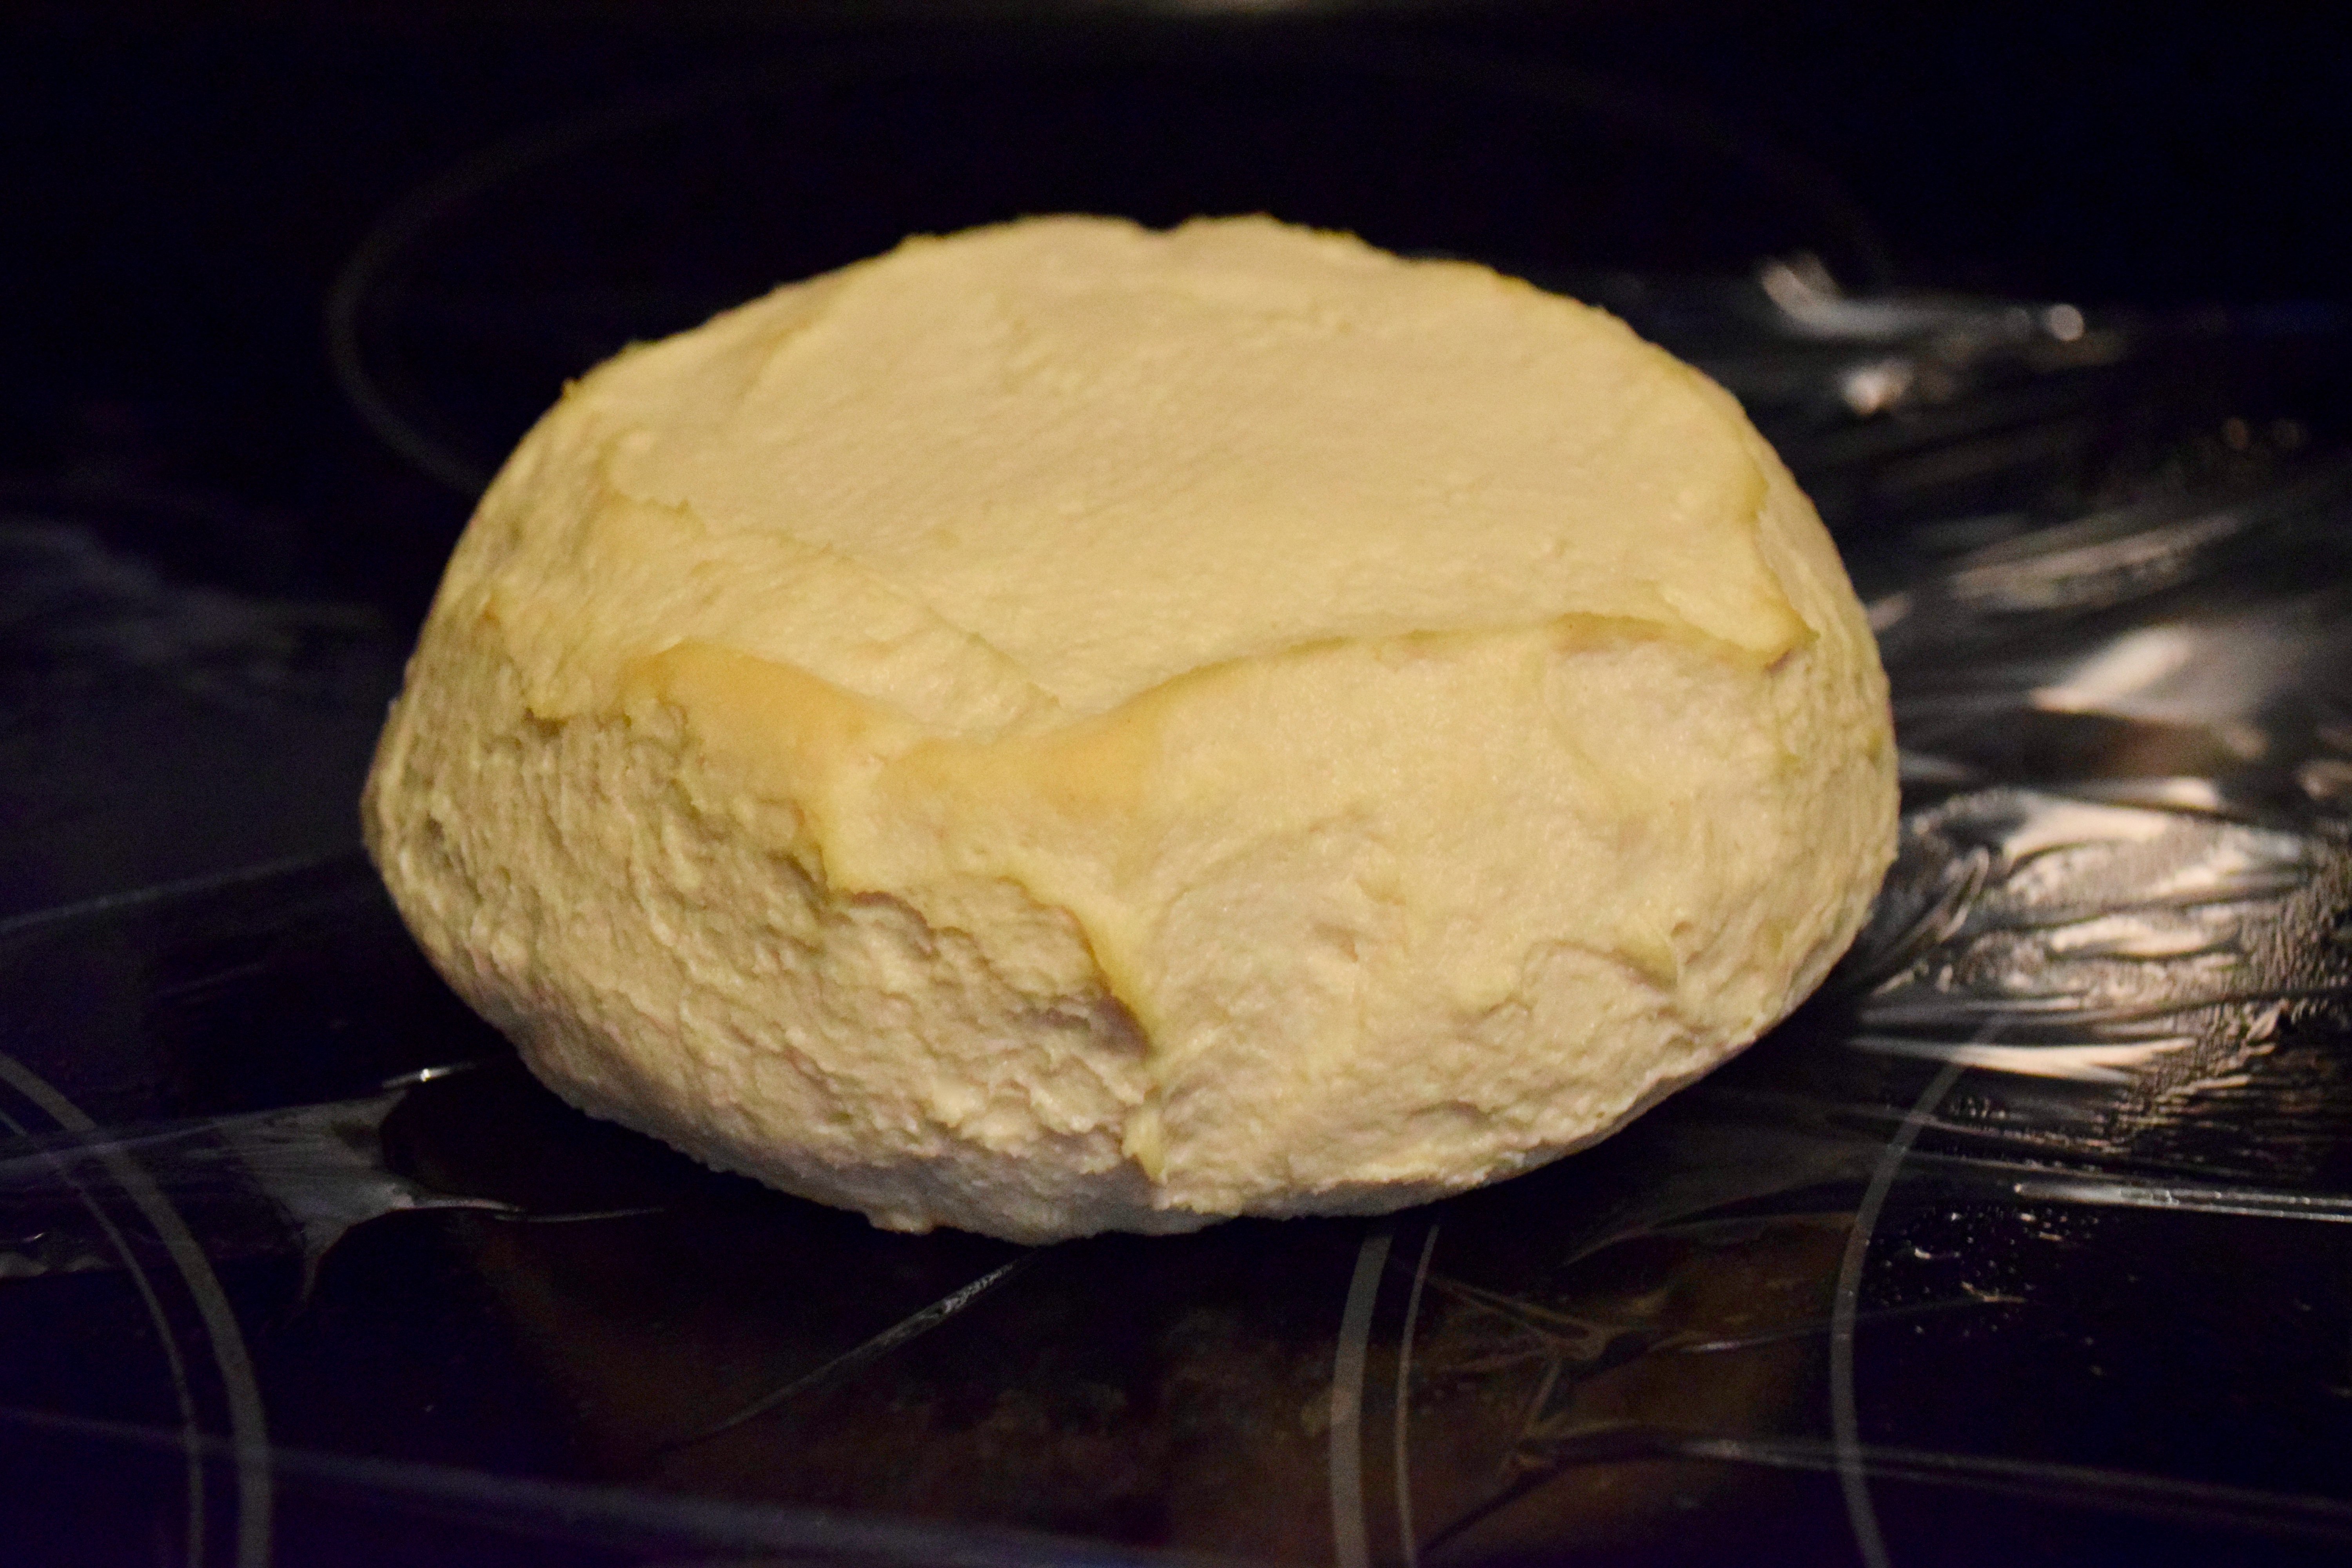
Pour your cheese mixture into your mold and leave in the fridge (uncovered) for at least 2 hours to set. If you are in a rush, after 2 hours, you can eat your cheese, but it is best to let it cure a bit longer.
*I’ve learned that it is very important to “cure” the agar separately to get the right consistency. Agar needs to boil and cool to set in its semi-solid state. The original recipe I used, had the agar mixed in with the other ingredients, then mixed with boiled water, which didn’t always set properly. I’ve found that boiling the agar separately and adding to the cheese mix works every time.
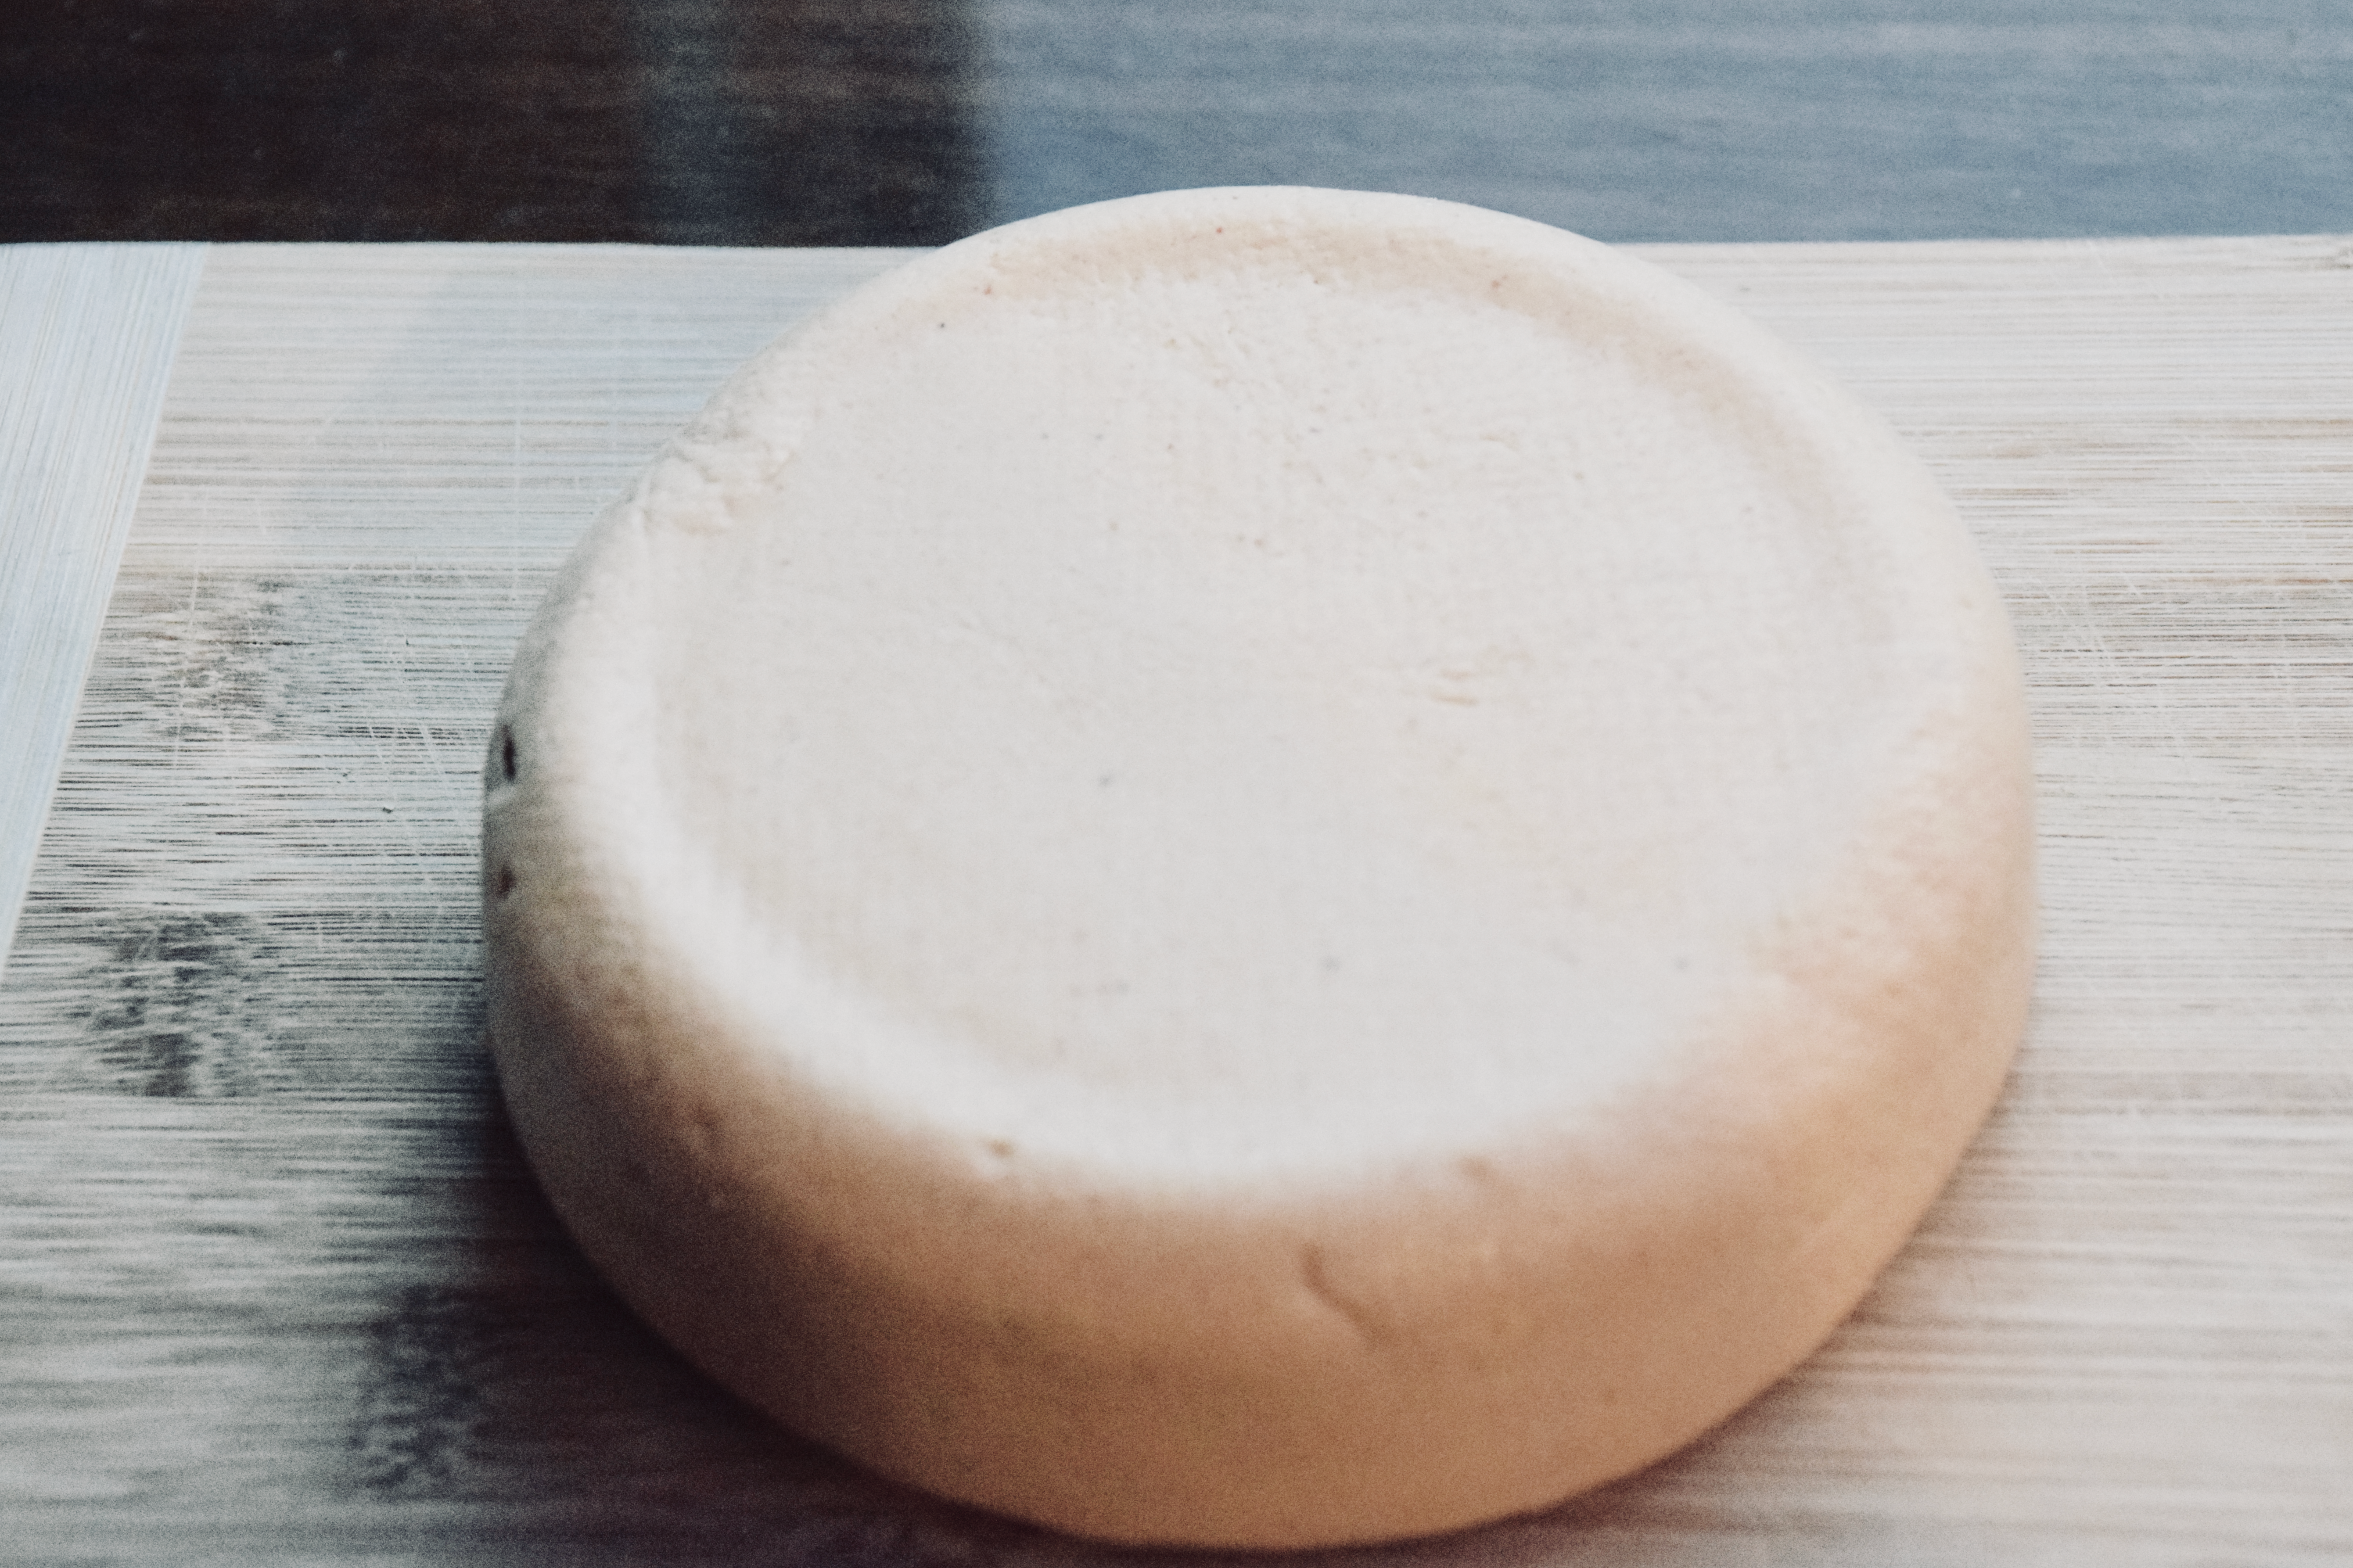
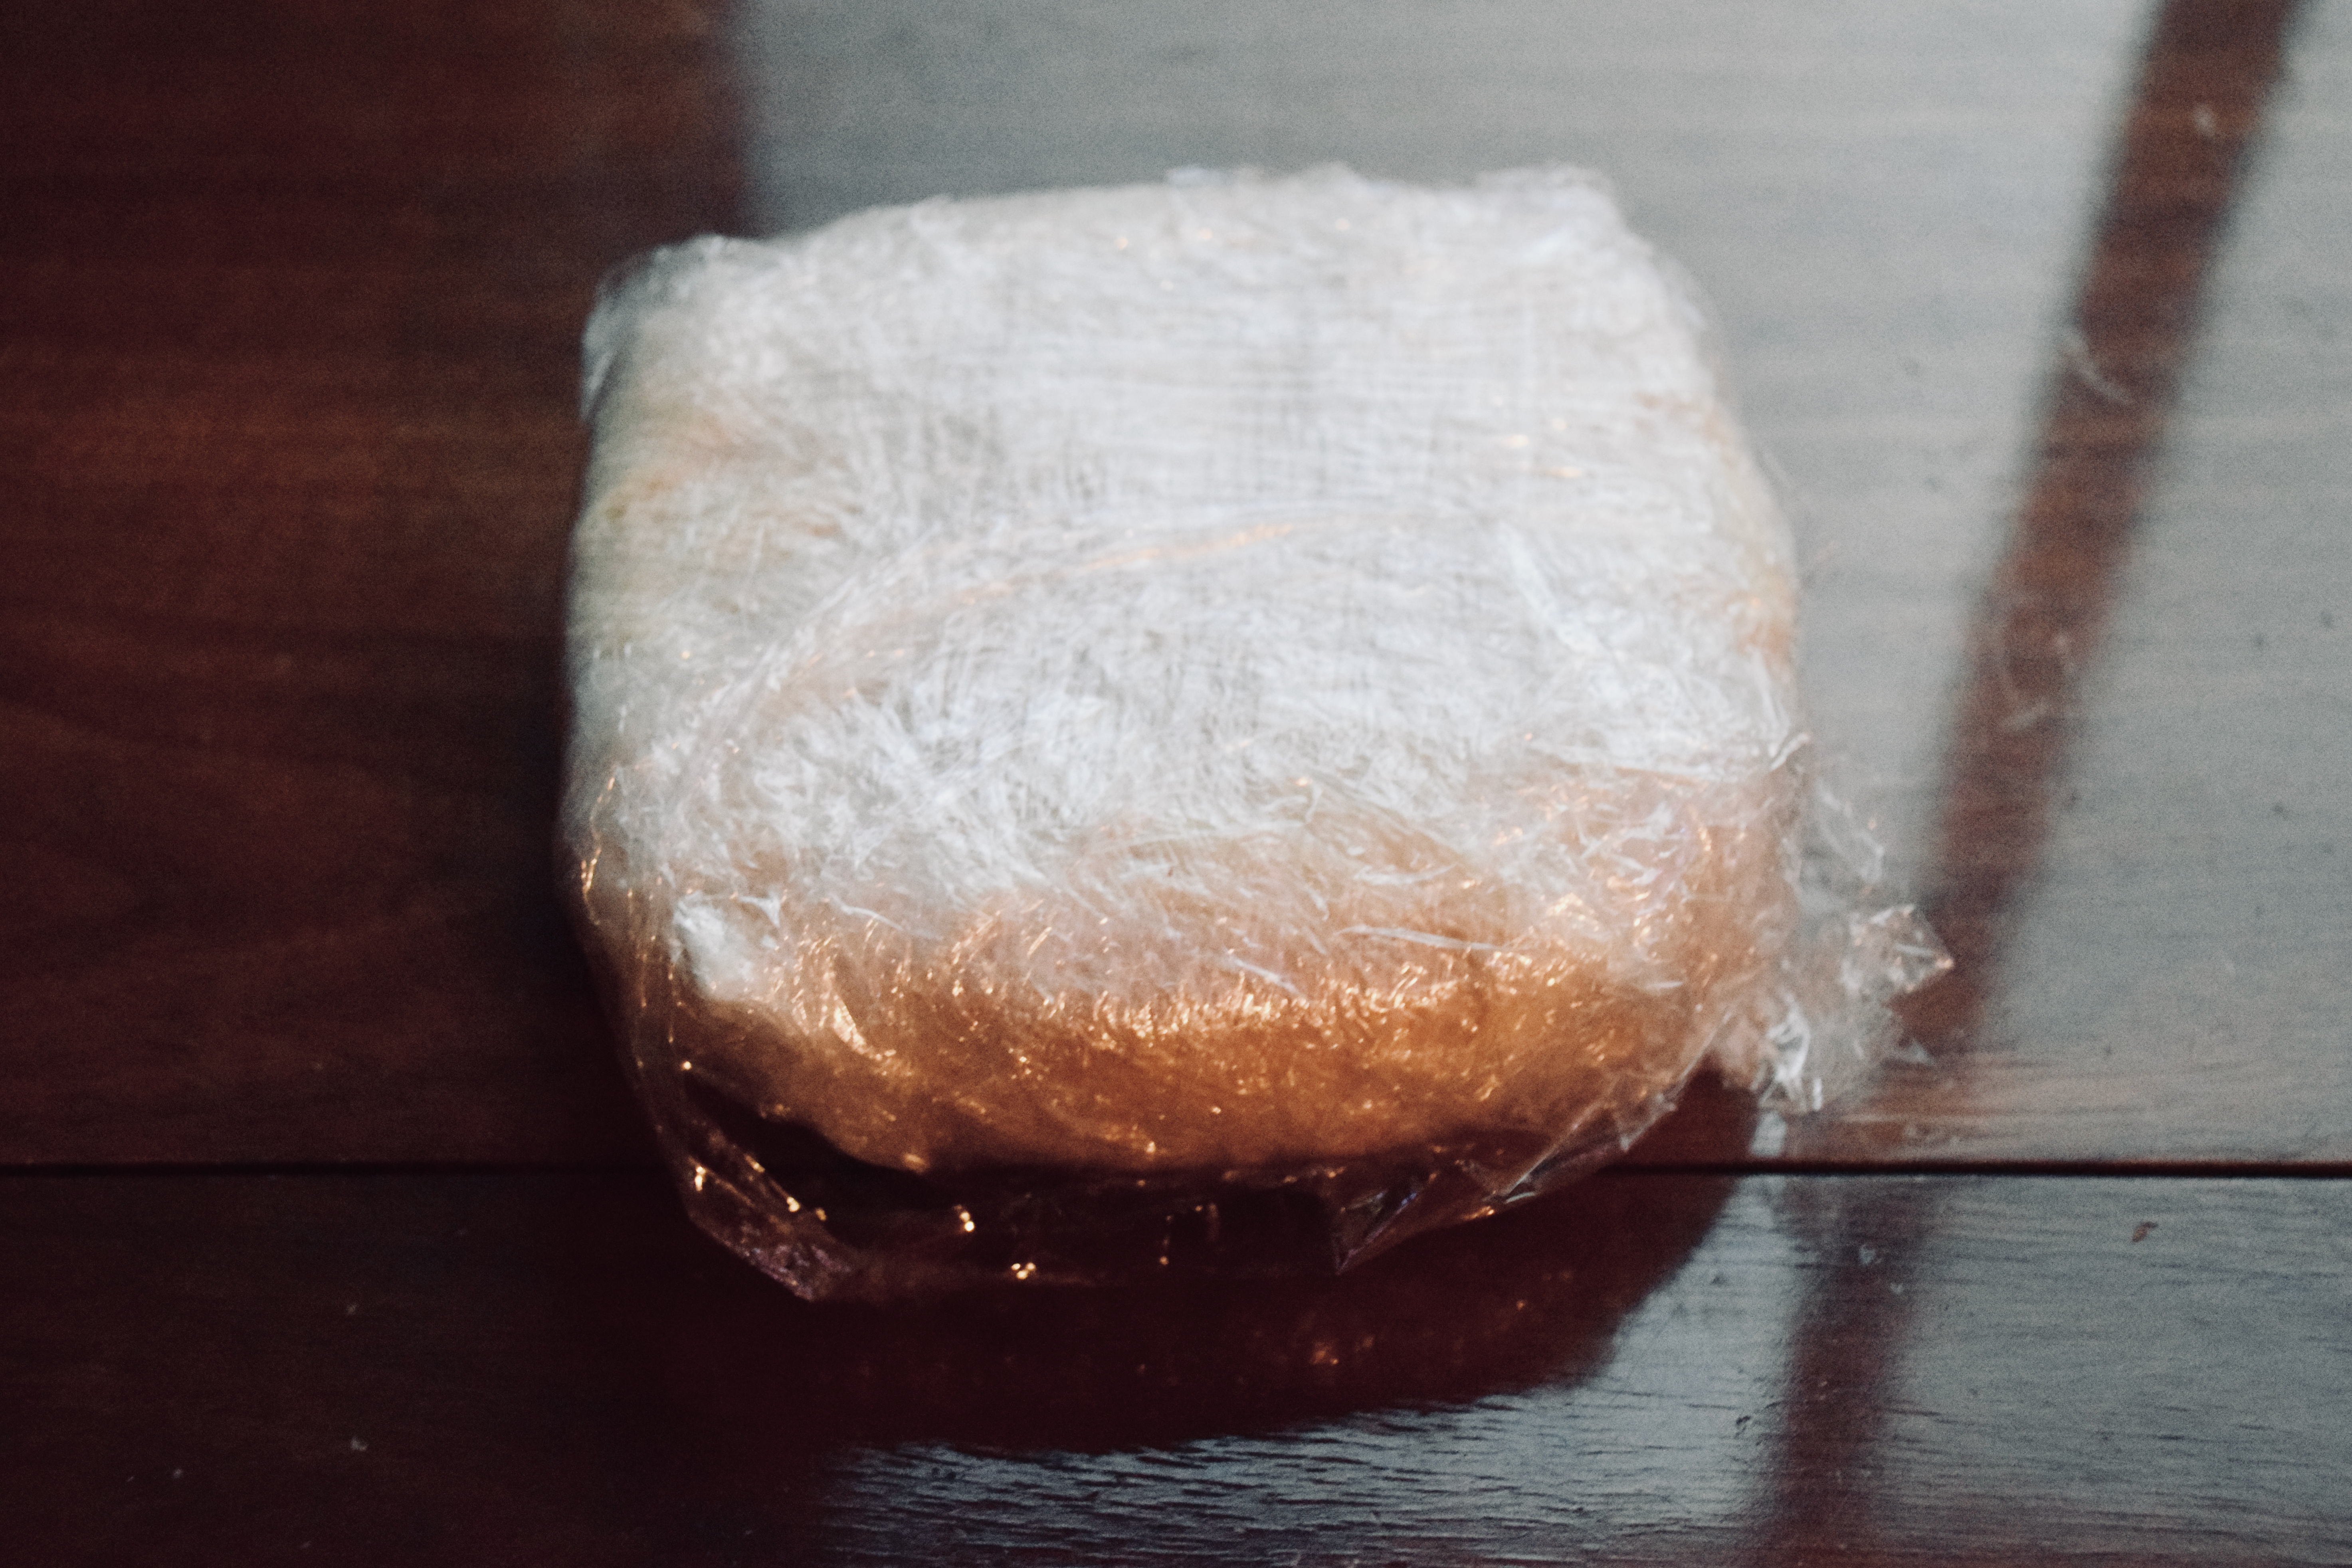
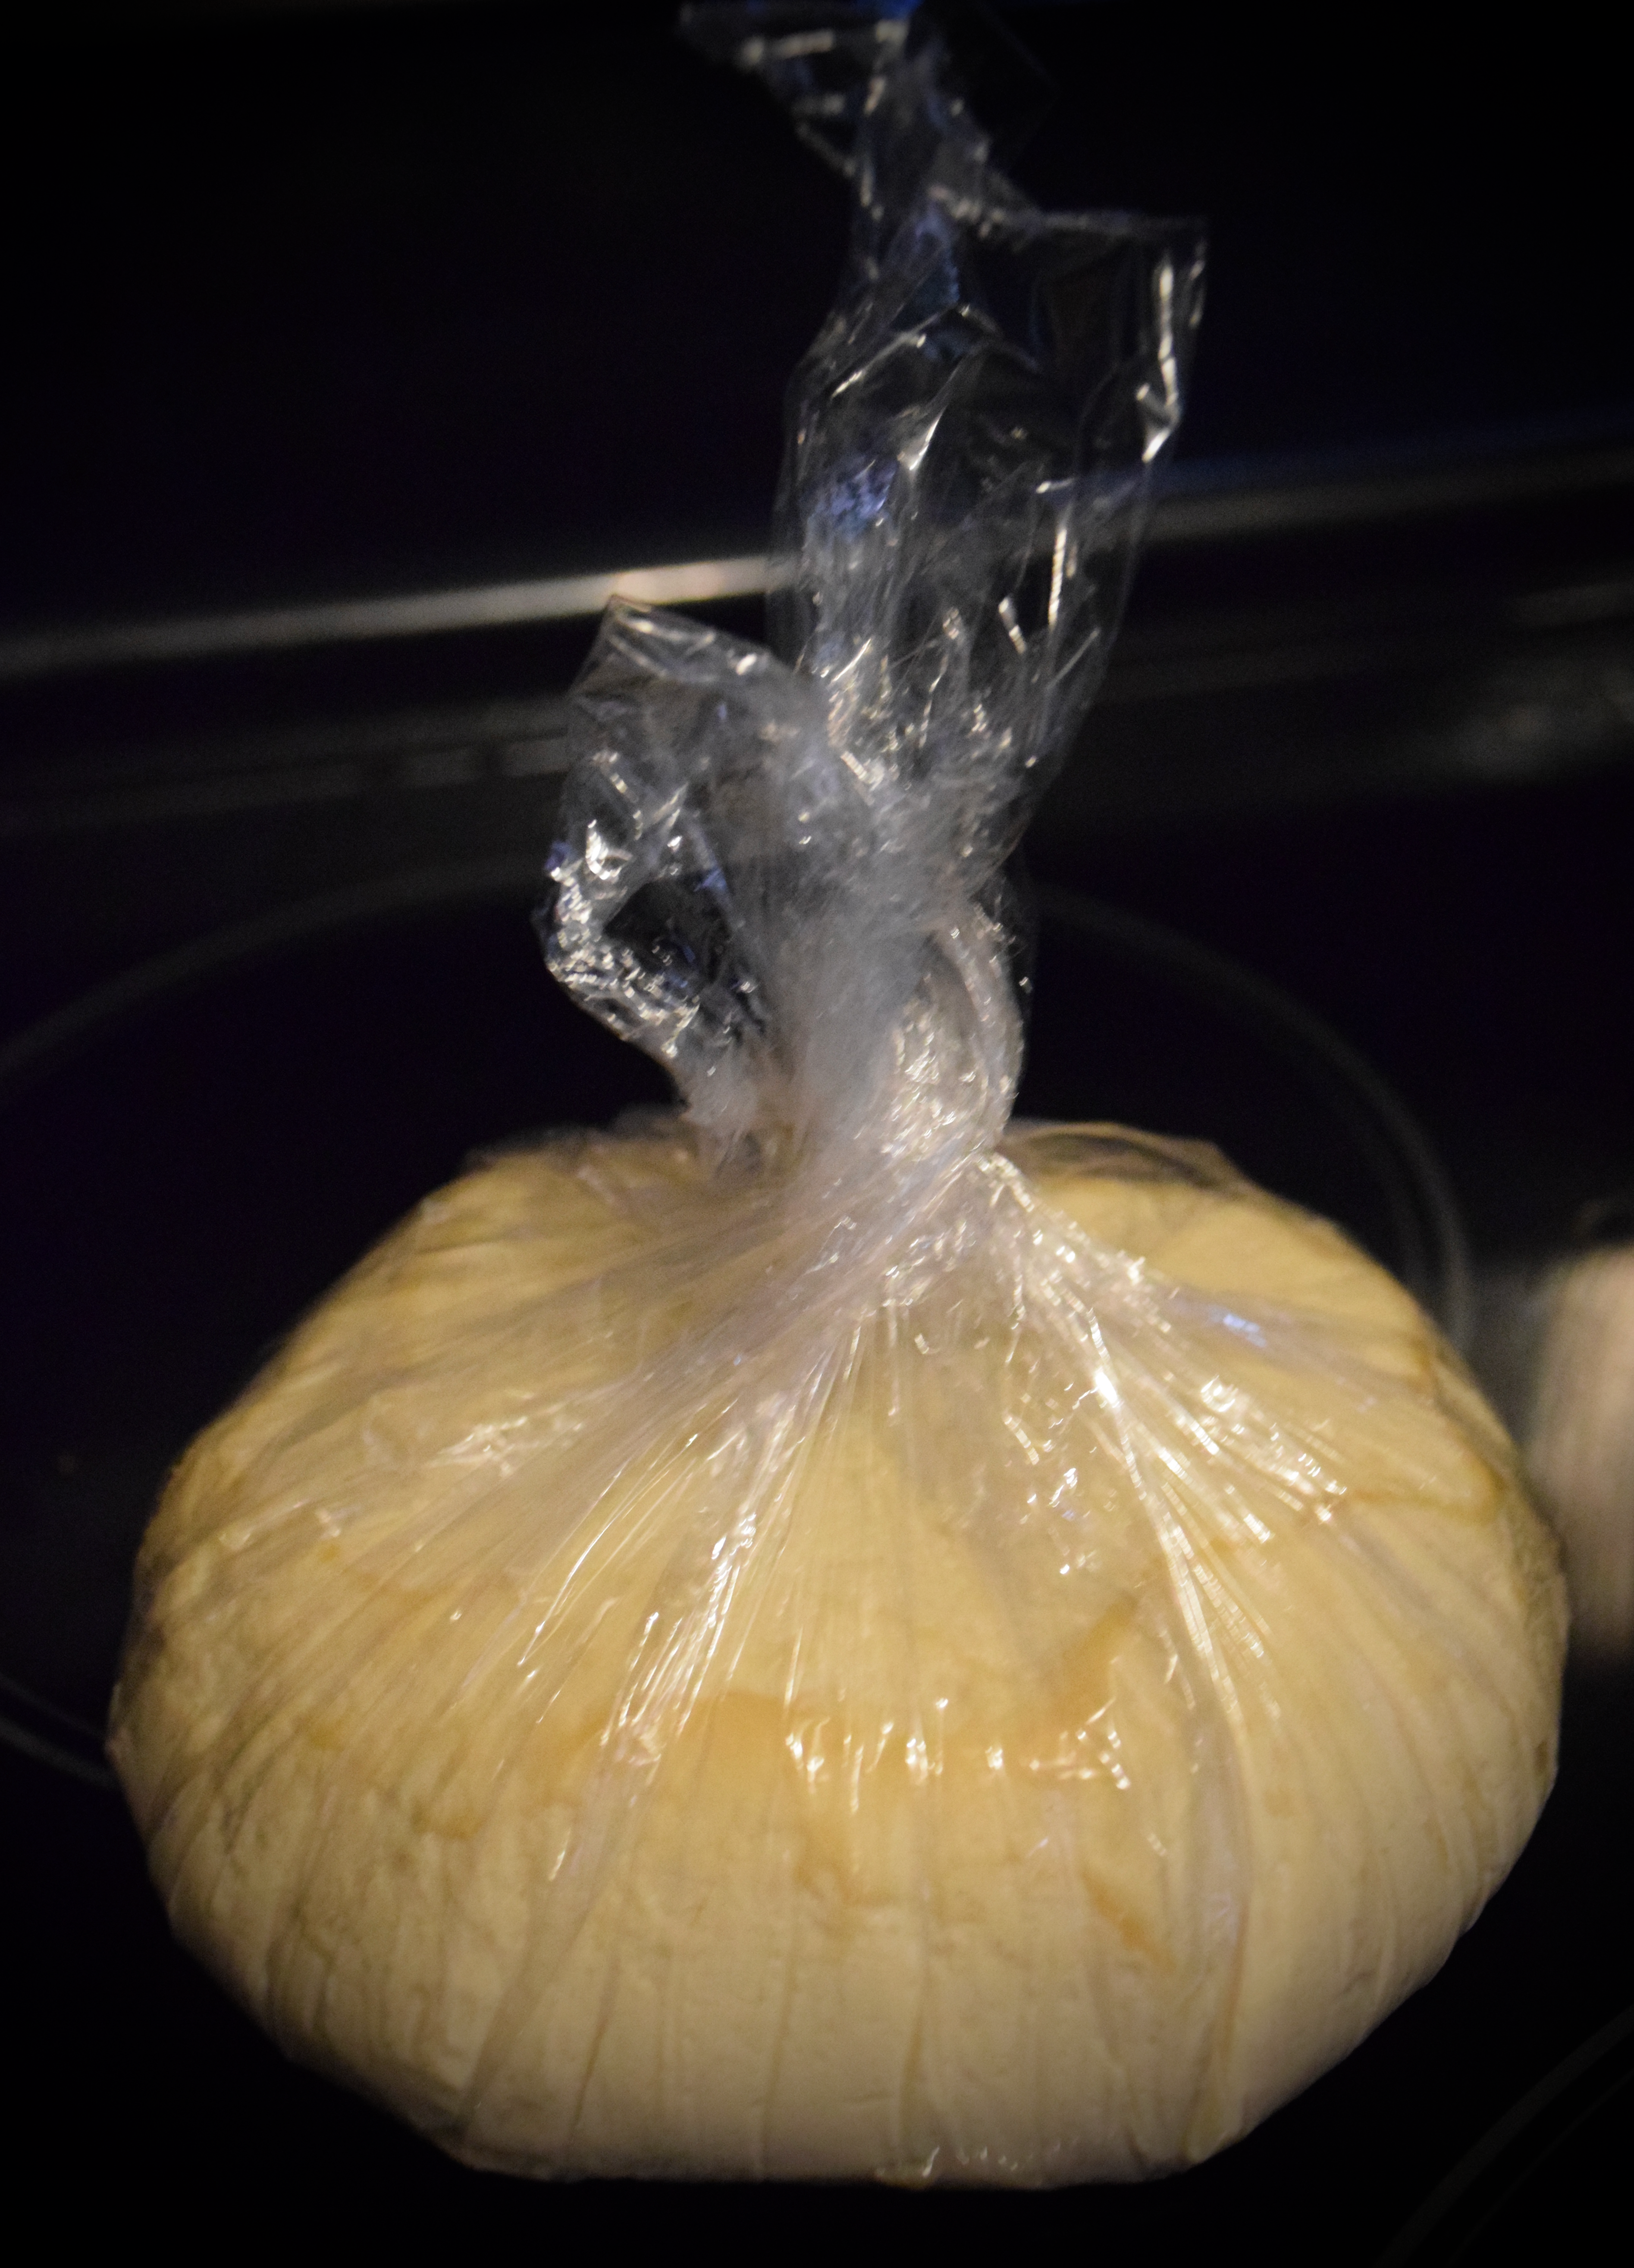
After 2 hours, remove your cheese from the fridge. At this point, it should have firmed up enough that you can remove it from the mold. You can wrap it in paper towel and plastic wrap and set in the fridge for a few more hours, or days, to “cure” before serving.
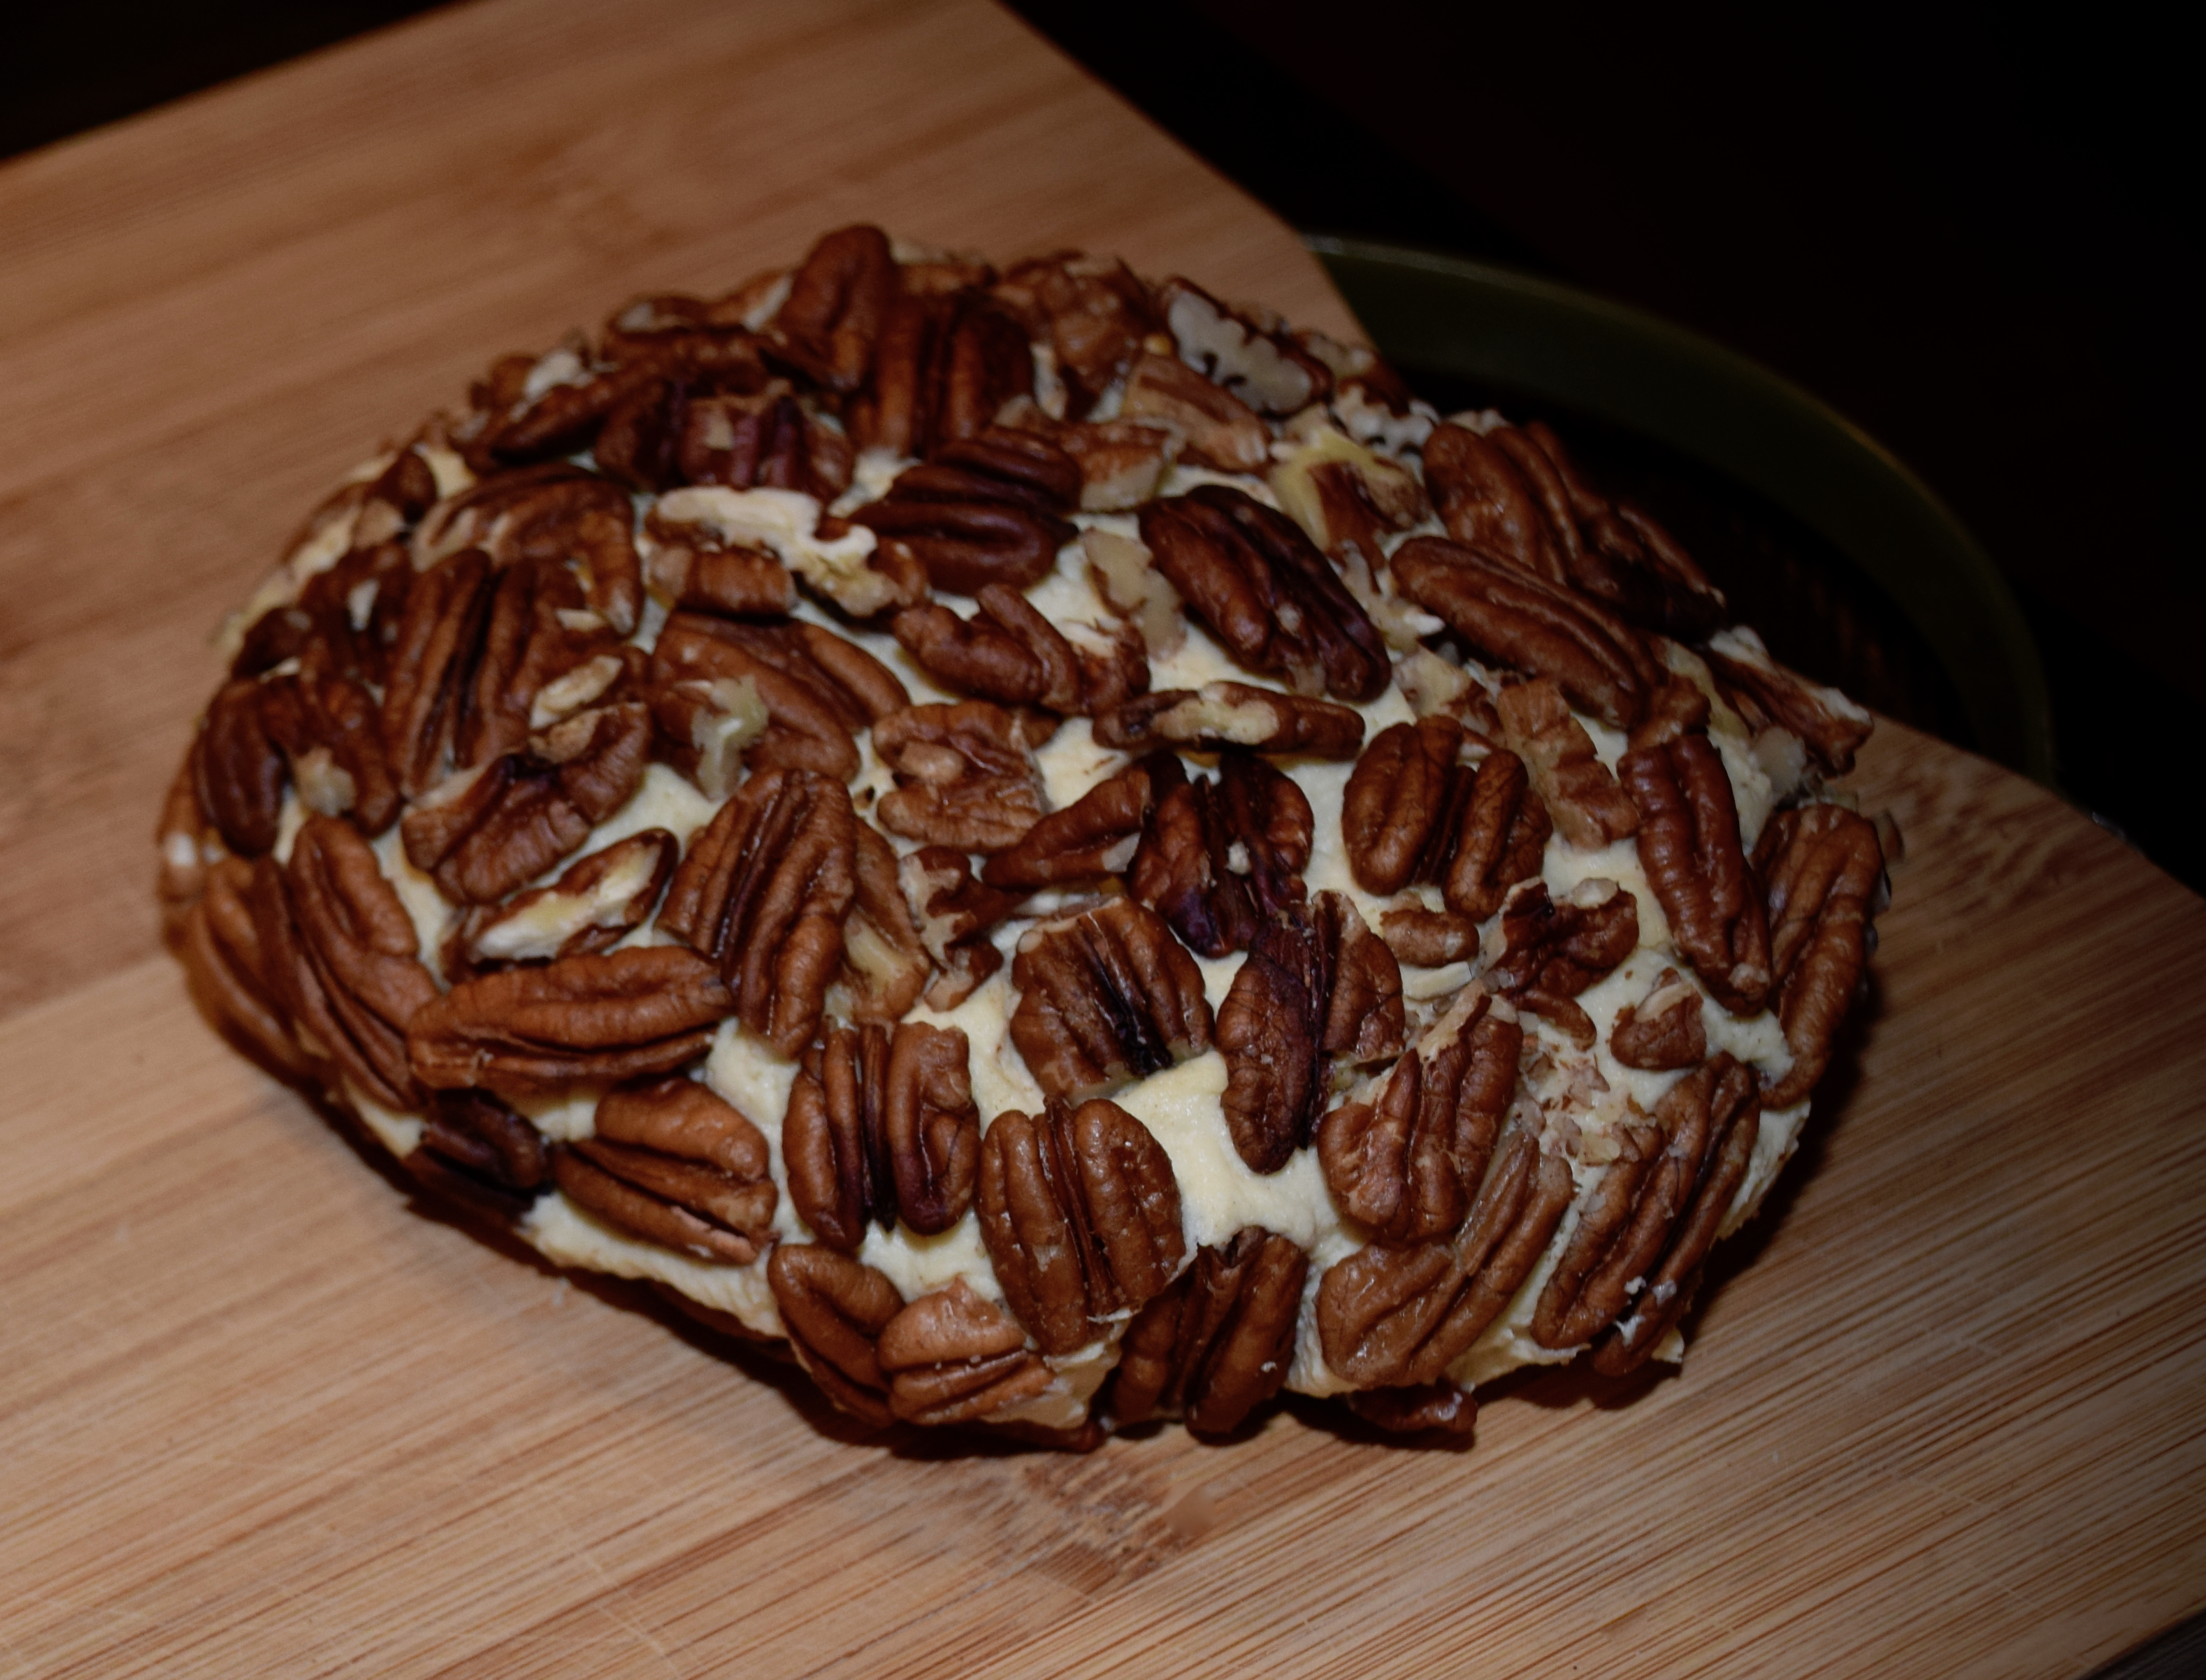
If your cheese has not firmed up, return to the fridge, or abandon ship and create a cheese ball out of failure!
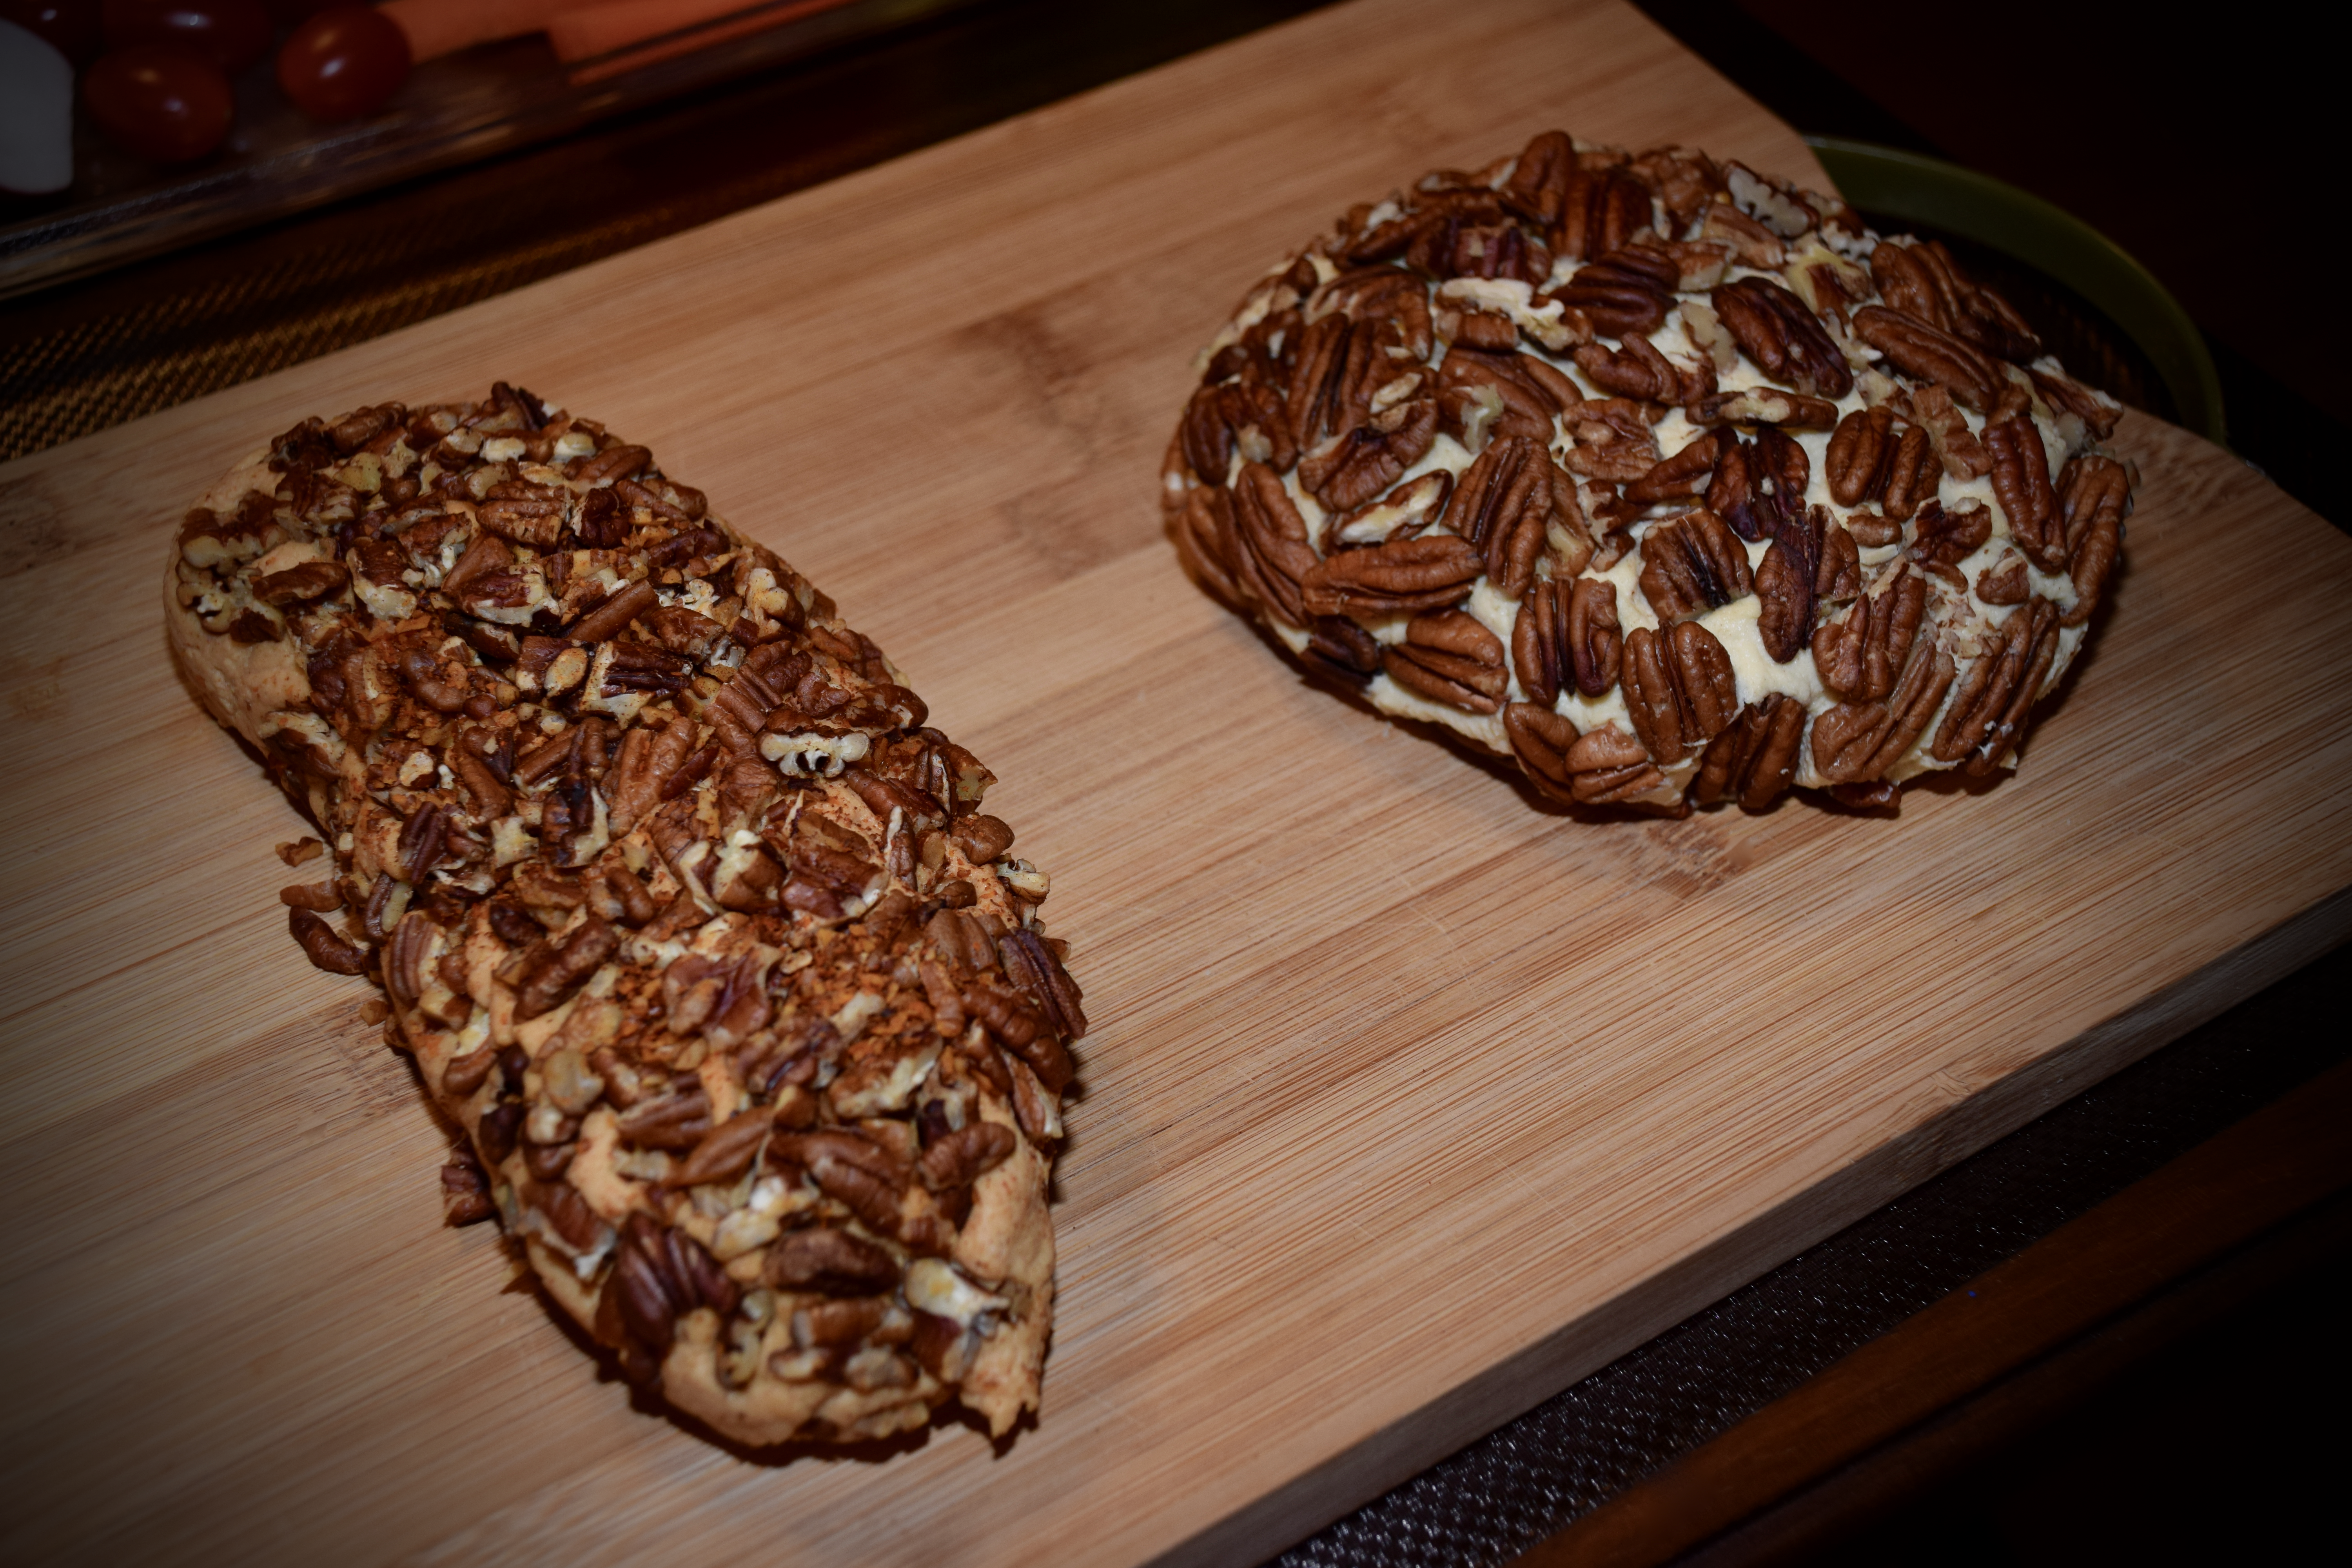
For a cheese ball, you will want to form your cheese into a round using plastic wrap, set in the fridge for an hour, then coat in nuts or seeds (I used pecans), and serve.
Honestly, both options are enjoyable, but there is something so thrilling about creating that “cheese wheel” look from plants. The first time I achieved this, I was jumping up and down with excitement for several minutes.


6 Comments